Setup
bash
1
Verification
Verify that you have bash installed on your machine.
bash is usually installed on most Linux/MacOS machines.
Open a terminal (search your applications for “Terminal”) and type the following:
bash --versionIf you have Bash installed, you should see a similar output:
GNU bash, version 3.2.57(1)-release (arm64-apple-darwin23)
Copyright (C) 2007 Free Software Foundation, Inc.1
Look for Git Bash or WSL
Check if you have Git Bash or Windows Subsystem for Linux (WSL) installed. You can search for any existing applications with those names.
2
Verify bash
Check if you have Git Bash or Windows Subsystem for Linux (WSL) installed. You can search for any existing applications with those names.
With Git Bash or WSL open, type the following command:
bash --versionIf you have Bash installed, you should see a similar output:
GNU bash, version 3.2.57(1)-release (arm64-apple-darwin23)
Copyright (C) 2007 Free Software Foundation, Inc.If you already have bash installed, then you are free to skip ahead to the Git section.
2
Installation
Skip this if you have already verified that bash is installed from above.
1
Install Homebrew
/bin/bash -c "$(curl -fsSL https://raw.githubusercontent.com/Homebrew/install/HEAD/install.sh)"Taken from https://brew.sh/.
2
Install bash
brew install bashVerify that the installation has worked by going through the section above.
If you do not have Git Bash installed, you will be able to install it with Git below.
For Debian and Ubuntu systems:
sudo apt-get install bashFor CentOS and other RPM-based systems:
sudo yum install bashVerify that the installation has worked by going through the section above.
Keep your terminal open, we will be using it for the rest of the setup.
Git
Take note!
You may have interacted with Git through GUIs like Github Desktop, GitKraken, and SourceTree. However, git-mastery prefers the use of the Git CLI as you are usually able to perform more complex commands directly through the CLI.
1
Verification
Run the following command in your terminal:
git versionThe following text confirms that Git is installed.
git version 2.48.1If Git is already installed, feel free to skip to the next section of setting up Github.
2
Installation
1
Install homebrew
/bin/bash -c "$(curl -fsSL https://raw.githubusercontent.com/Homebrew/install/HEAD/install.sh)"Taken from https://brew.sh/.
2
Install git
brew install gitDownload the appropriate installer for your machine from the Git website.
Take note!
When prompted if you wish to install Git Bash, select “Yes”, or select the option that installs Git Bash.
For Debian and Ubuntu systems:
sudo apt-get install gitFor CentOS and other RPM-based systems:
sudo yum install gitVerify the installation using the above step.
Github
1
New account
Create a new Github account if you don’t have an account
2
Verification
Verify if you already have SSH setup for Github:
ssh -T git@github.comIf you have already set it up, you should see a message containing your username. If so, feel free to skip to installing Github CLI.
3
SSH setup
1
Verify existing SSH key
Run the following command to list the files in your ~/.ssh/ folder (including hidden files).
ls -al ~/.sshIf you have an existing SSH key, you will see one of the following entries:
id_rsa.pubid_ecdsa.pubid_ed25519.pub
If you already have an existing SSH key, you can skip the next two steps.
2
Create an SSH key
Create a new SSH key:
ssh-keygen -t ed25519 -C "your email"You can press Enter to accept all of the defaults (including using an empty passphrase).
3
Add SSH key to ssh-agent
Add the private SSH key to the ssh-agent.
For more information about each step, refer to the Github documentation.
Start the ssh-agent in the background.
eval "$(ssh-agent -s)"You should get the following output.
> Agent pid ...If you are using macOS Sierra 10.12.2 or later, modify your ~/.ssh/config to automatically load keys into the ssh-agent.
Check if that you have ~/.ssh/config on your machine:
cat ~/.ssh/configIf you see the following error, run the next command:
cat: ~/.ssh/config: No such file or directorytouch ~/.ssh/configEdit the file to include the following at the end of the file:
Host github.com
AddKeysToAgent yes
UseKeychain yes
IdentityFile ~/.ssh/id_ed25519Add your SSH private key to the ssh-agent:
ssh-add --apple-use-keychain ~/.ssh/id_ed25519In an admin elevated PowerShell window, start the ssh-agent:
Get-Service -Name ssh-agent | Set-Service -StartupType Manual
Start-Service ssh-agentAdd your SSH private key to the ssh-agent:
ssh-add ~/.ssh/id_ed25519Start the ssh-agent in the background.
eval "$(ssh-agent -s)"You should get the following output.
> Agent pid ...Add your SSH private key to the ssh-agent:
ssh-add ~/.ssh/id_ed255194
Add SSH key to Github
Once done, you can add the SSH key to Github.
Copy the public SSH key (ending with .pub) to your clipboard:
pbcopy < ~/.ssh/id_ed25519.pubIn Github, go to your settings > “Access” > SSH and GPG keys > New SSH key.
Give it a readable name and paste the contents of your public SSH key.
5
Verify Github SSH
ssh -T git@github.comVerify that the fingerprint in the message matches Github’s public key fingerprint and if it does, type yes.
You should see a message containing your username:
Hi <your username>! You've successfully authenticated, but GitHub does not pr
ovide shell access.4
Configurations
To use Git with Github, you will require the following configurations:
1
Configuring name
Set the name associated with your Git commits.
This name will be visible in any future commits pushed to Github from the command line.
You can use any text if you wish to keep your real name private.
For more information, refer to the Github documentation.
git config --global user.name "<your name>"2
Configuring email
Set the email to be associated with your Git commits.
Similar to setting your name, if you wish to keep your real email private, you can do so using a Github-provided noreply email as described here.
git config --global user.email "<your email>"Github CLI
1
Installation
1
Install homebrew
/bin/bash -c "$(curl -fsSL https://raw.githubusercontent.com/Homebrew/install/HEAD/install.sh)"Taken from https://brew.sh/.
2
Install Github CLI
brew install ghWe recommend using the .msi for installing Github CLI found here.
There are different installation steps for various Linux distributions, refer to this installation guide for more information.
2
Authentication
After you have installed Github CLI, run the following command to login to your preferred Github account:
gh auth loginYou should have setup SSH for Github from the step above. If so, you should select the option for using SSH for Github CLI.
3
Verification
You can verify that the setup for the Github CLI worked by running the following:
gh auth statusYou should see something similar to the following:
github.com
✓ Logged in to github.com account <your username> (keyring)
- Active account: true
- Git operations protocol: ssh
- Token: gho_************************************
- Token scopes: 'admin:public_key', 'gist', 'read:org', 'repo'git-mastery
1
Navigate to parent folder
git-mastery creates a subfolder for all problem sets, so navigate to a parent folder.
2
Setup
curl -O https://raw.githubusercontent.com/git-mastery/scripts/refs/heads/main/setup.sh \
&& bash setup.sh3
Verification
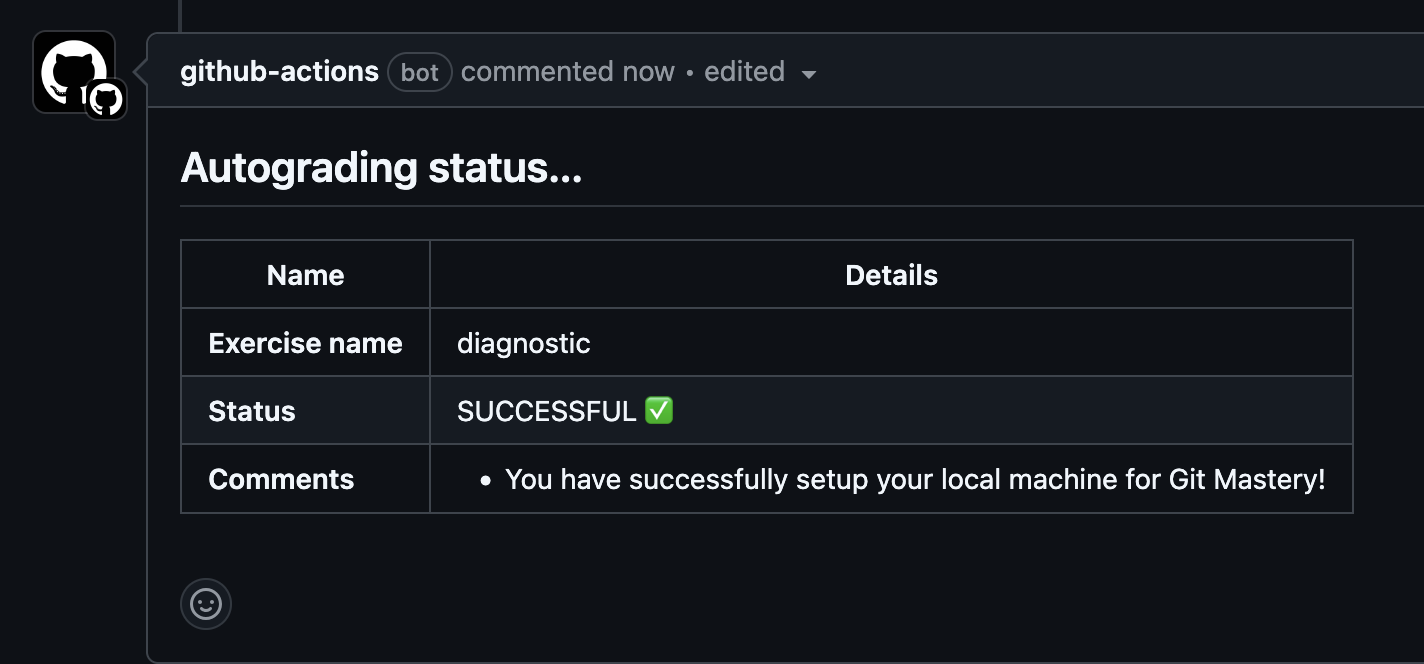
Go to https://github.com/git-mastery/diagnostic/pulls.
Look for an entry titled [Your Github username] [diagnostic] Submission and go into it.
If you see the following message, you have setup Git Mastery for your local environment successfully!